Filling gaps in line art
Every digital artist knows the pain; you’re trying to do a quick flood-fill into some line art and then suddenly you’re playing everyone’s favorite game, “spot the pixel gap.” Well, as fun as this activity is, there is a shortcut you can use to fill the gaps so that you can get along with making your art! This approach works in most current graphics applications which support layers and selection modification operations; I use it in Photoshop.
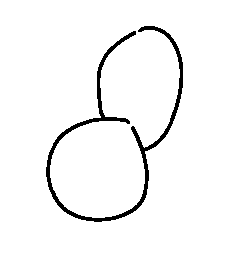
Let’s say you have an image like this, where the lines aren’t quite complete. To fill in the gaps, simply select by color, then expand (or grow) the selection by a few pixels (a good starting point is the size of the largest gap divided by two, rounded up), then shrink (or contract) the selection by the same amount.
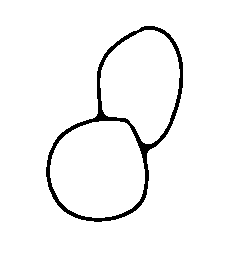
Your selection should now cover a version of the lines where the gaps have been filled in. Create a new layer and floodfill the selection with the desired color, and you’ll get something like this.
Notice, however, that junctions between separate lines will be smoothed out slightly.
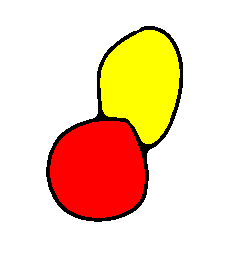
In any case, now you can safely flood-fill without worrying about colors spilling over. Personally I like to keep my color fills on a separate layer, so that I can tweak them and the outlines separately. Additionally, I like to do the fill by using the magic wand tool to select the area, then grow the selection by a few pixels and fill using only the color layer (rather than all layers), so that some color fills in behind the lines as well. This makes anti-aliasing work a bit better, but also lets us do something else…
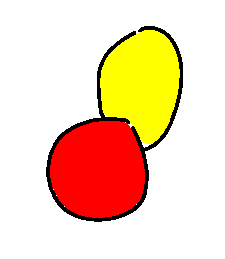
…namely, we can turn off the filled-in line layer and still have a nice color fill with the original lines. There will still be a few glitches from where the lines were smoothed out (as you can see in the yellow filled area), but if the color fills are all on a separate layer it’s easy enough to fix those by hand.
Comments
Before commenting, please read the comment policy.
Avatars provided via Libravatar