Remodel, day 2
It’s day 2 of actual work on the kitchen. Whee.
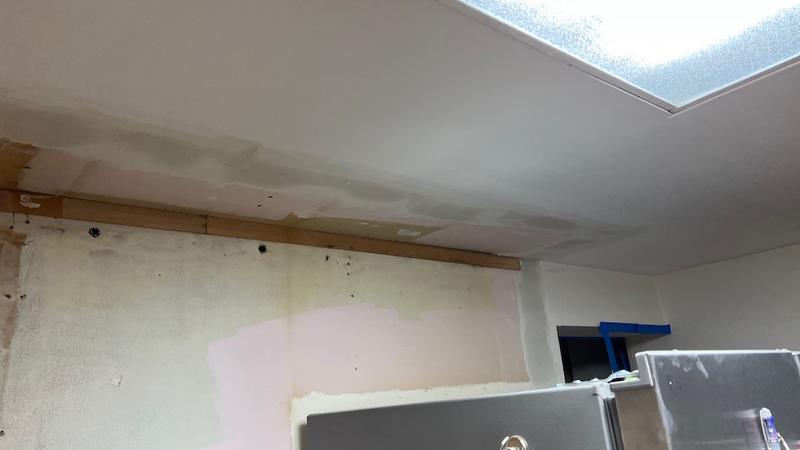
Today they mostly did patchwork on the walls and floor, and did the electrical setup for the under-cabinet lighting and the improved garbage disposal switch.
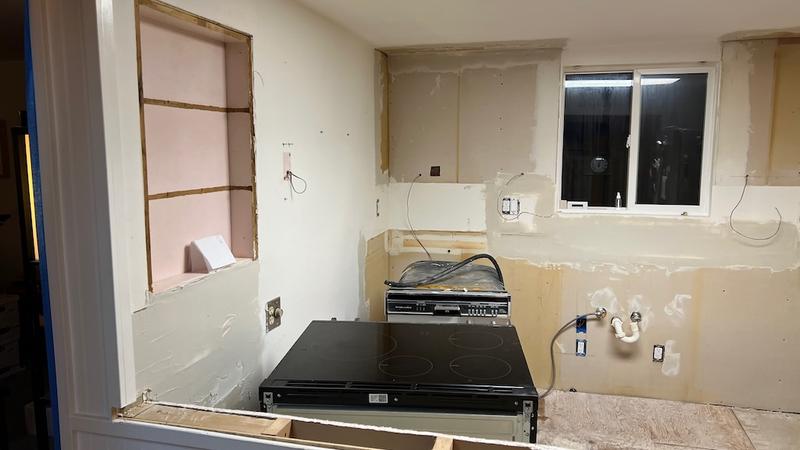
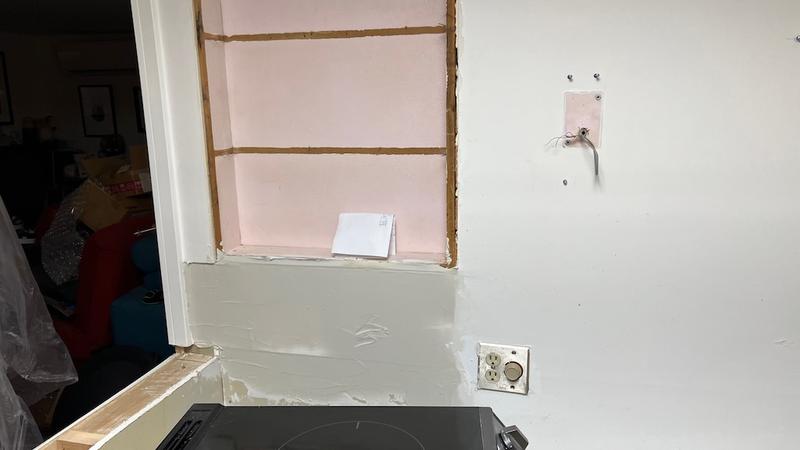
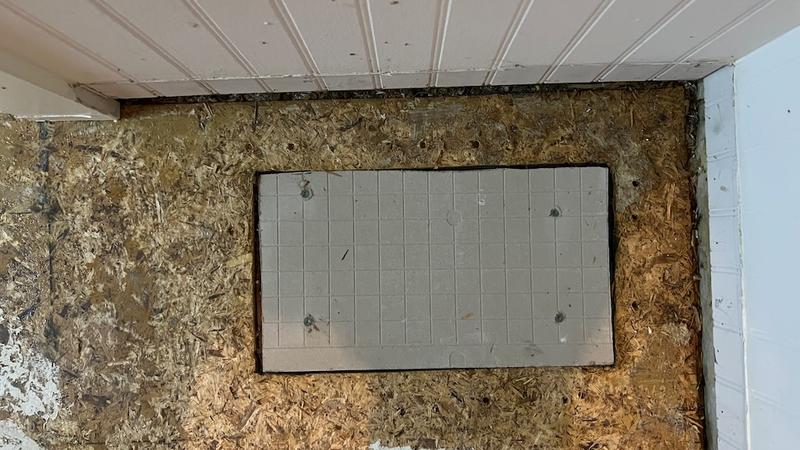
It took some re-explaining to get the builder to understand why I wanted the floor vents patched. Originally he just patched the large register and ignored the small floor vent; he didn’t understand that the furnace was entirely gone (replaced with the heat pump system I had installed last August). Unfortunately the small floor vent wasn’t as easy to seal up (since it wasn’t right by a joist) and there’s visible cracks around it.
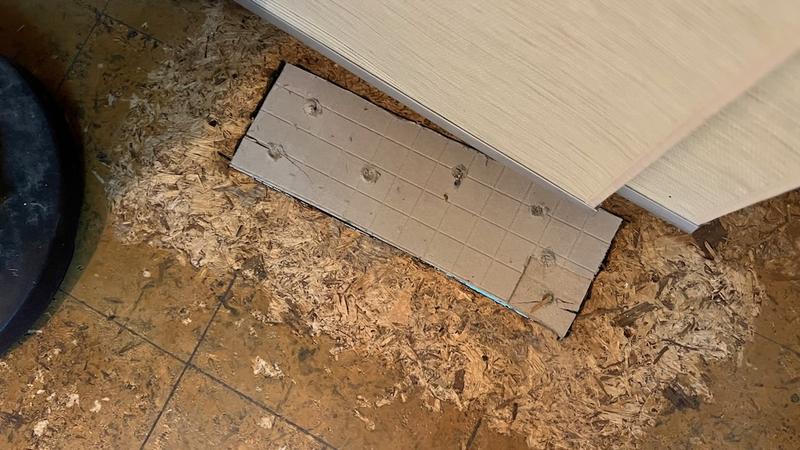
After they left I went and used some spare caulk I had (left over from last year’s bathroom renovation) to seal it better. I don’t think this was actually necessary (since they’re going to put some underlayment layers on top of the plywood which should seal that gap nicely) but I wanted to cut down on drafts in the short term, and I had no other use for the caulk anyway.
With the electrical wiring, I was trying to explain what I thought would be the easiest way to do it; here’s a couple of diagrams I drew:
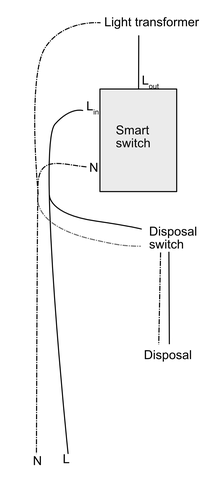
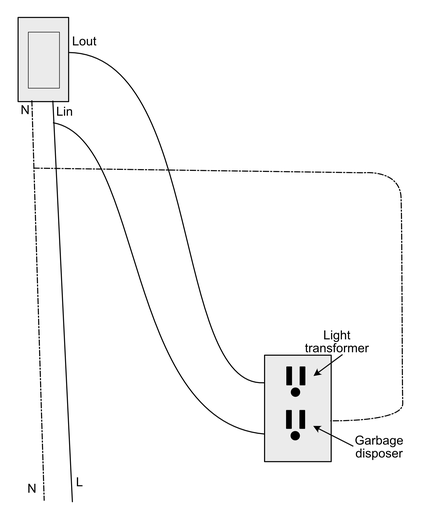
The builder decided instead to do a similar approach but with two separate outlets, one switched (for the light transformer) and one for the garbage disposal. His plan is to use a pressure switch, and to just plug in the light controller/transformer normally, which is a nice straightforward solution. I assume (but don’t know for sure) that the wiring is pretty much the same as the block diagram above, just using outlets instead of hard-wiring.
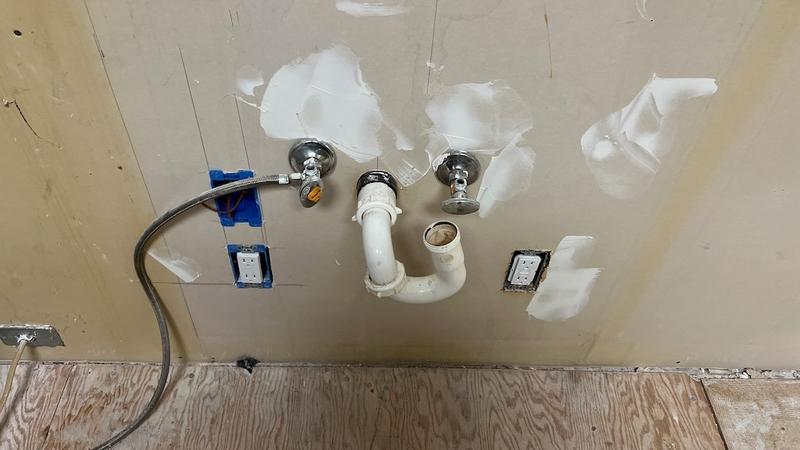
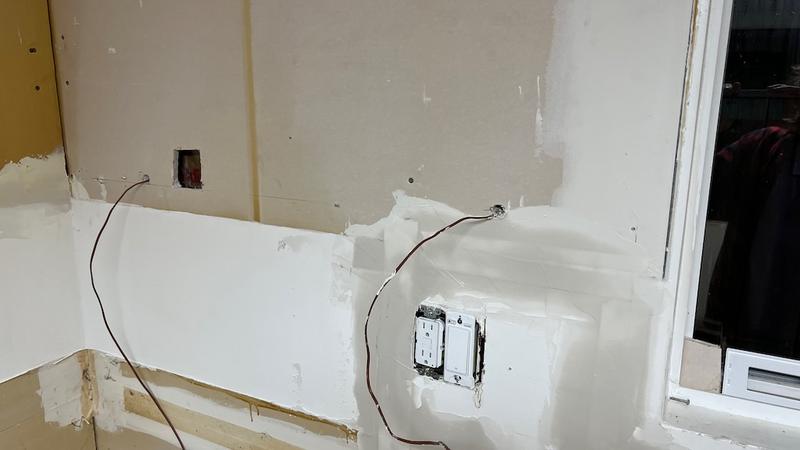
He also had the foresight to run three sets of low-voltage wires from near the outlet to the cabinets. Presumably his plan is to splice the wires for the lighting system in, rather than running the lights' own wires through the wall, and the kit I ordered seems to have all of what he needs to make this easy enough to do. I trust him to know what he’s doing; building kitchens is his specialty.
Anyway, there won’t be any more work on the kitchen until Monday at the earliest; my flooring order was originally going to arrive today, but it’s been delayed until then at the earliest. So, that pushes back the project by a few days, but I feel like things are going smoothly enough that it isn’t a huge deal. Oliver and his crew make me feel way more confident than the last… every contractor/builder I’ve worked with before.
On that note, two slight plan changes (which both came from talking to the builder about things): there won’t be a garbage drawer under the sink (I wasn’t sure that one was going to fit there anyway, now it definitely won’t due to the lighting electrical setup) and we’re not going to bother with the shelf-backstop-thing behind the washer and dryer (which were a lot of expense and unknown design issues for something of dubious cosmetic benefit). So, I’ll still have to figure out how to deal with my trash can in my kitchen (so what’s new there?) and this project just got about $7500 cheaper. Better than the alternative.
Comments
Before commenting, please read the comment policy.
Avatars provided via Libravatar