VRChat setup guide
Please consult this document if you would like to set up a Unity project for uploading your own instance of the critter avatar.
Initial setup
Before getting started, please install the VRChat Creator Companion and use it to set up a Unity project for your avatar. Use it to install the following components:
- VRChat Avatars
- Gesture Manager
- Easy Quest Switch (recommended)
Next, install VRCFury.
Optionally (but strongly recommended), install the Poiyomi Toon shader and Warren’s Fast Fur Shader; the free version is fine for both.
Finally, install the critter Unity package, and open the critter setup scene.
Testing the avatar
To test the avatar in-engine, press the “Play” button at the top of the Unity window. This will spend some time building some things, and then eventually you’ll get a “Game” tab with the camera hopefully pointed at the avatar. For the purpose of testing it’s generally easier to go back to the “Scene” tab.
One Unity tip: in the “Scene” tab, you can hold the right mouse button and use WASD (plus Q and E) to fly the camera around. Then if you select “Main Camera” from the scene hierarchy (the panel on the left), then from the GameObject menu, select “Align With View.” This will move the camera (used on the Game tab) to where the view (on the Scene) tab is. This is also helpful later, when you want to choose a camera angle for the image upload.
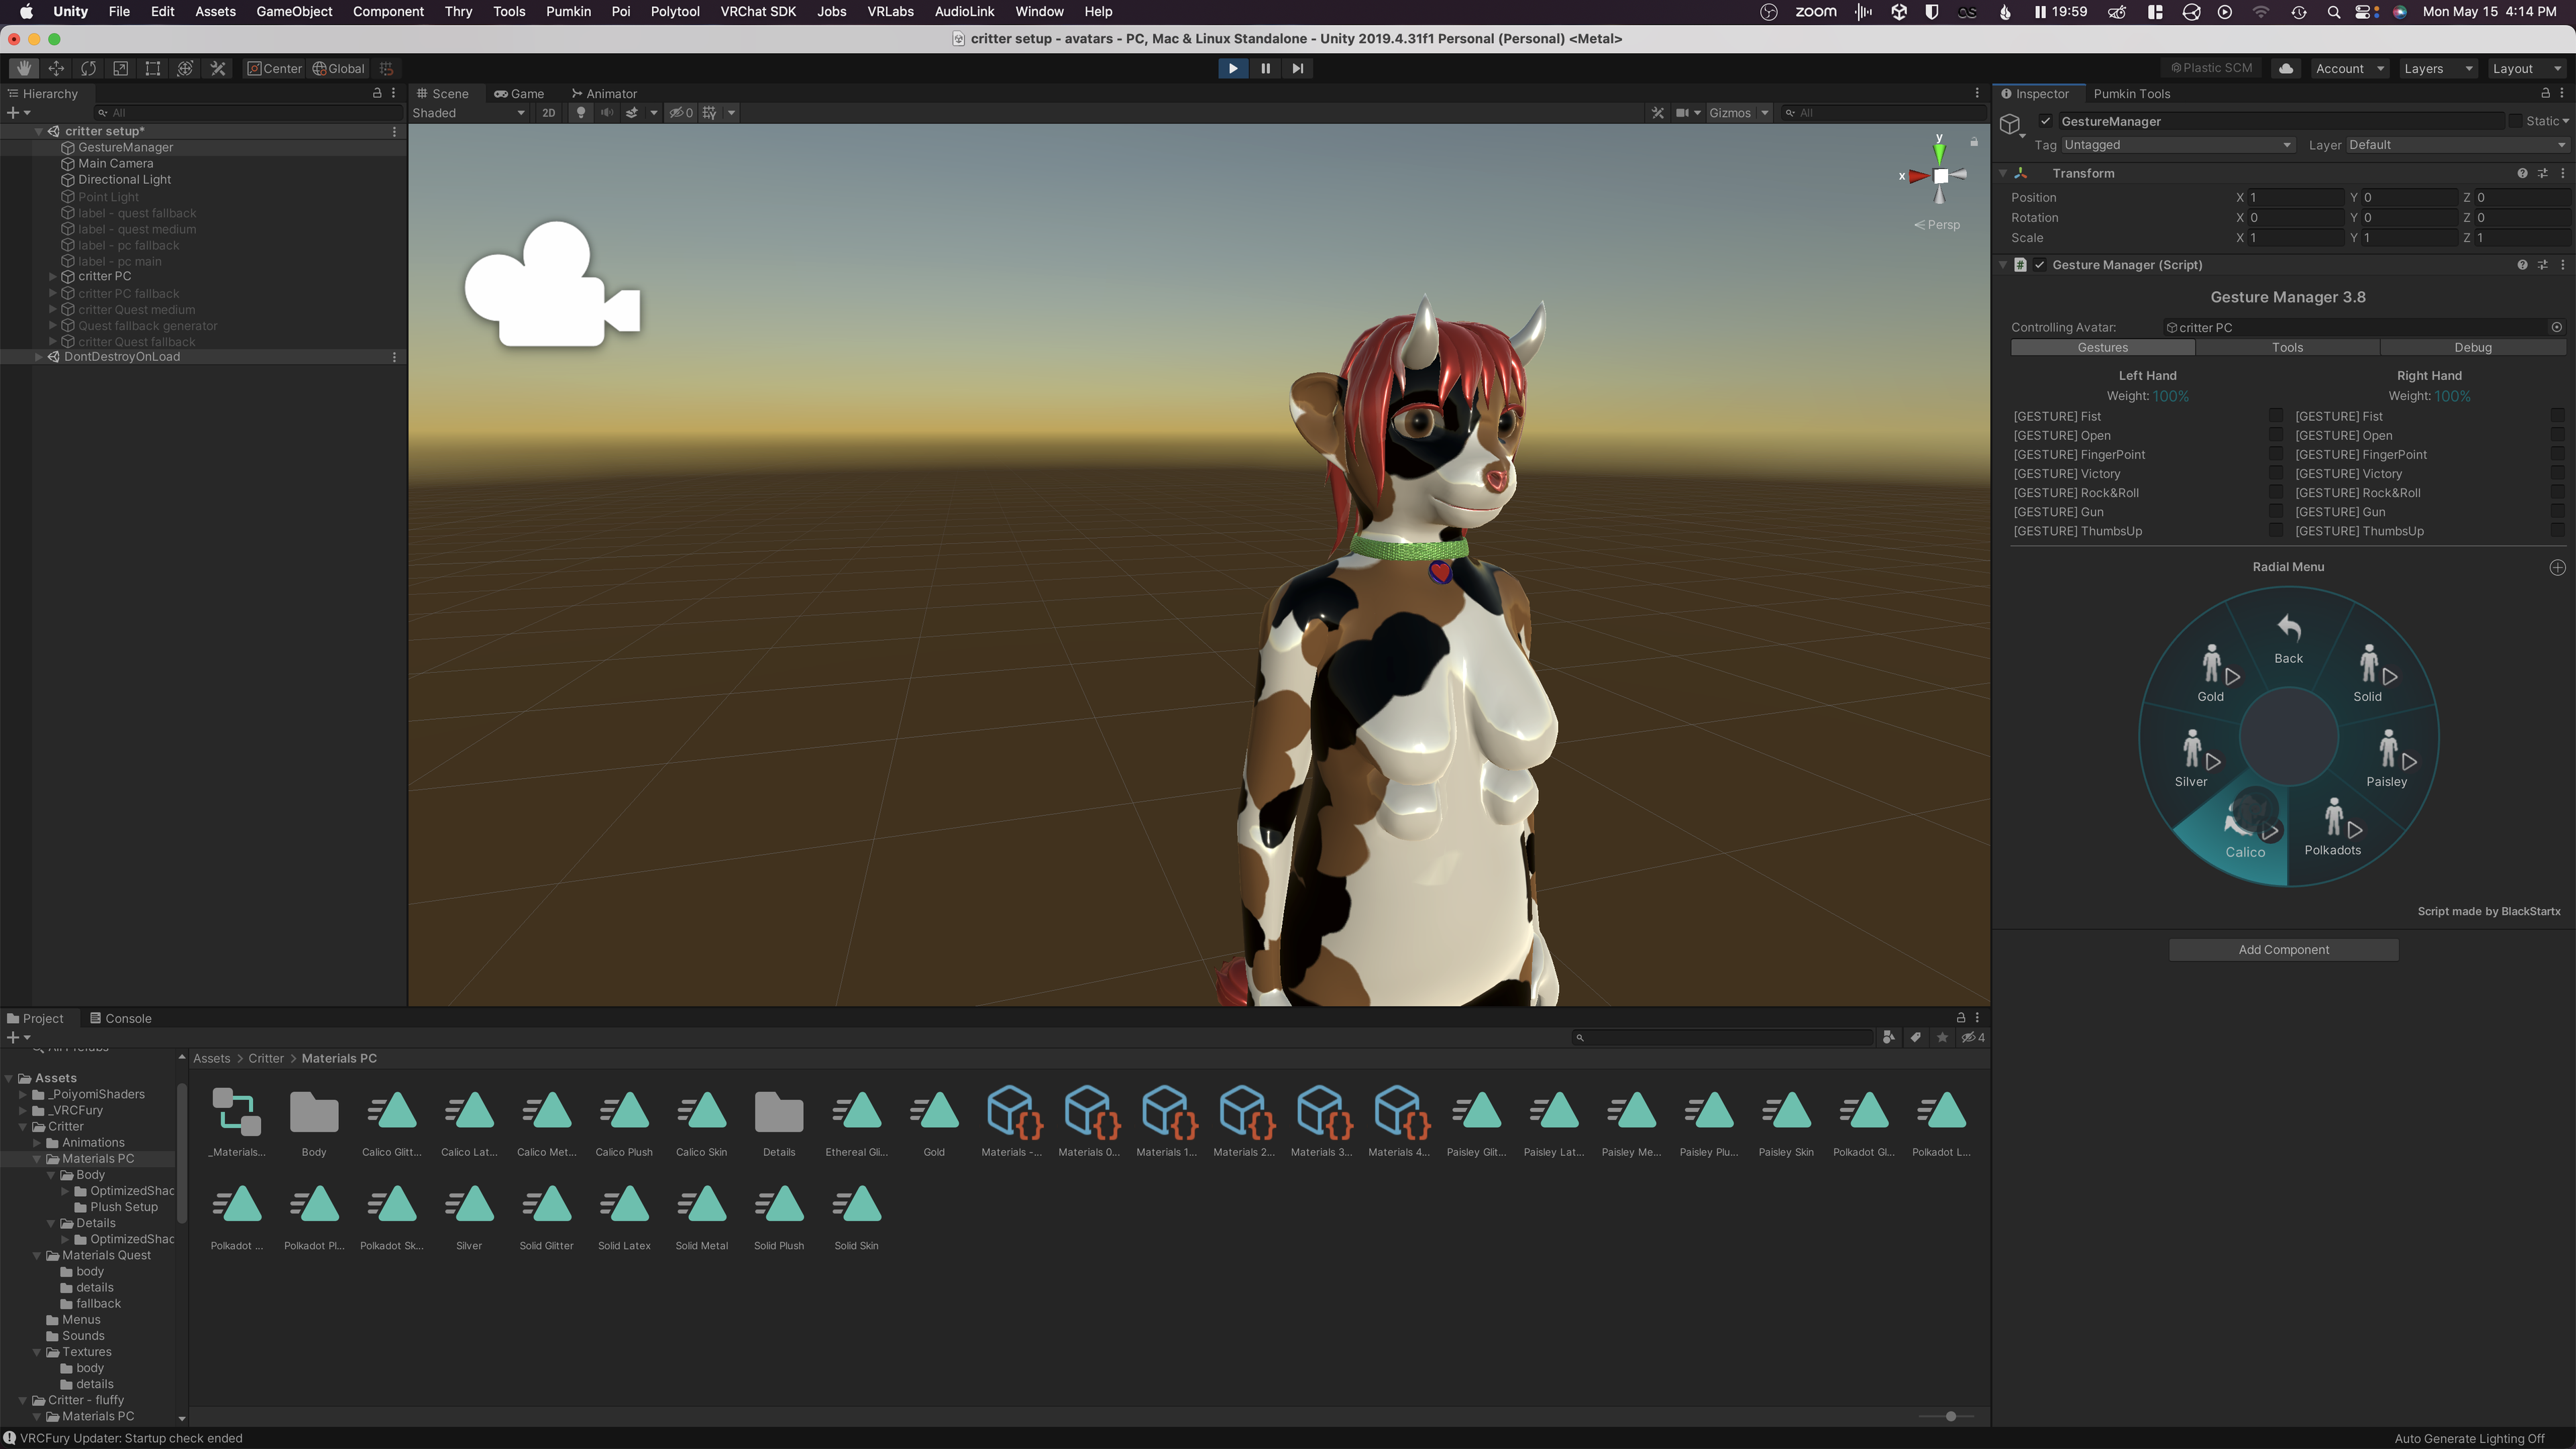
Anyway, from the scene hierarchy, click on “GestureManager” and wait a little bit until something like the VRChat radial menu pops up in the inspector. If “controlling avatar” is not set to the avatar you want to test, drag it over from the scene hierarchy into the slot. Now you can test all of the expression controls (including materials).

Fixing missing materials
It’s possible that the version of Poiyomi and/or Warren’s Fast Fur you have installed don’t match the version I develop with, or that the link between the materials and the shader got broken. In this case, your materials might appear as solid magenta or cyan in the display. Fixing this is fairly straightforward, though: find the broken material from the project assets view (it’ll probably be under Critter/Materials PC), select it from the file browser, then in the inspector you will see a “Shader” drop-down box. From there you can select the correct shader to use.
For the “body” materials, I use .poiyomi/Poiyomi 8.1/Poiyomi Toon, aside from the plush versions which are Warren's Fast Fur/Special Variants/Fast Fur - UltraLite (but any version should work).
Uploading the defaults
If you’ve already uploaded a VRChat avatar, you already know what to do! But if you haven’t, here’s the basic procedure. First, uploading the main avatar:
- From the VRChat SDK menu, select “Show Control Panel,” then go to the “Builder” tab
- Select any avatar on the list, then select “Switch Build Target” and then “Windows”
- Select the “critter PC” avatar from the list
- Click “Build and Publish for Windows”
- Wait a little while
- Eventually you’ll get some UI with a description box, photo, etc. Follow the instructions there to upload the avatar.
Also, please remember to credit me (fluffy) in your upload description, if you would be so kind!
Next, you’ll want to upload the Quest version. The first time you do this you’ll have to associate the avatars together so that VRChat knows they’re the same one. The process for that is:
- Go to the VRChat SDK Control Panel and select the “Content Manager” tab
- Find the avatar you uploaded, and click “Copy ID”
- In the scene hierarchy, select the “critter Quest medium” avatar
- In the inspector pane, look for “Pipeline Manager (Script)”, and inside that section, look for “Blueprint ID (Optional).” Click on the text box and then paste in the avatar ID you copied in step 2, then click “Attach (Optional)”
To actually upload the Quest version, it’s similar to the main avatar:
- From the VRChat SDK menu, select “Show Control Panel,” then go to the “Builder” tab
- Select any avatar on the list, then select “Switch Build Target” and then “Android”
- Select the “critter Quest medium” avatar from the list
- Click “Build and Publish for Android”; see below if this button remains disabled
- Wait a little while
- Eventually you’ll get some UI with a description box, photo, etc. Follow the instructions there to upload the avatar.
If the “Build and Publish for Android” button is disabled, this is due to a bug in the VRChat control panel that happens sometimes. The easiest way to fix it is to select each PC avatar from the scene hierarchy and then disable it from the Inspector (by unchecking the check box next to its name in the Inspector tab). After you’ve disabled all of the PC avatars, the “Build and Publish for Android” button should start working.
This can be made a bit more automatic by setting up the “Easy Quest Switch” addon (from inside the “Window” menu), by ensuring that all of your avatars are on the list and that the PC versions are not enabled in Quest build mode. It’s also helpful to make sure the Quest avatars are disabled in the PC build mode as well, to prevent making mistakes like accidentally uploading the Quest version for Windows (which will work but which won’t be ideal).
Creating a custom avatar
I recommend creating a new folder in your project for your setup, and duplicating anything that you modify into it, so that changes to the base package won’t override any customizations you make.
My recommendation is to do the following:
Create a new top-level folder
Copy the
critter setup.unityscene file into the folder (giving it a meaningful name)Create the subfolders for your customizations, e.g.
Materials PC,Materials Quest, andTexturesCopy the existing
_Materials-PCand_Materials-Questanimator controllers from the base avatar into their respective new folders, and rename them to match your avatar (for example,_fluffy materials PCand_fluffy materials quest)Create a new VRChat menu for your material selections
On each avatar object, open the “VRCFury Full Controller” component and drag your new animator and top-level menu onto the “File” slot for the controller

This approach also lets you (relatively) easily set up multiple versions so that you can keep a bunch of different material settings, customizations, etc. separate so that you can limit your VRAM usage or make separate versions for public vs. private places or the like. For example, I keep my customizations that require Poor performance on a separate avatar so that my main one can have a Good rank.
Uploading a fallback
Oh wow, you want to make your fallback self a critter? Neat! I’m flattered!
For this, your best option is to upload the “critter PC fallback” avatar normally (generating a new blueprint ID), then copy its blueprint ID over to both “Quest fallback generator” and “critter Quest fallback” before uploading “critter Quest fallback”. Technically you don’t have to copy it over to the fallback generator, but that’ll make your life much easier if you ever have to regenerate the fallback for some reason (such as updating materials or if you make changes to the mesh).
Unfortunately, you can’t just upload the Quest fallback on its own, as you need to have a PC version to set your fallback to. The PC fallback avatar goes pretty much unused except as a placeholder. This may change in the future at some point, though.
Comments
To see the comments on this entry, please log in. Alternately, send me an email, or join me on Discord!