VRChat avatar, referred colormaps edition
Today I put my literal shower thought into action, and redid the pigment mapping stuff to use a color lookup table instead. And hoo boy, were there a lot of pitfalls; namely:
- Unity defaults to loading color textures as sRGB, and does so by linearizing the color space
- The default wrapped texture lookup causes all sorts of fun boundary conditions to happen
- Default texture compression completely hecks up texture values which rely on precise lookups
- Oh right, interpolation can’t solve precision issues
But hey, now I have a working colormap that more or less replicates what I had last night, and then some:

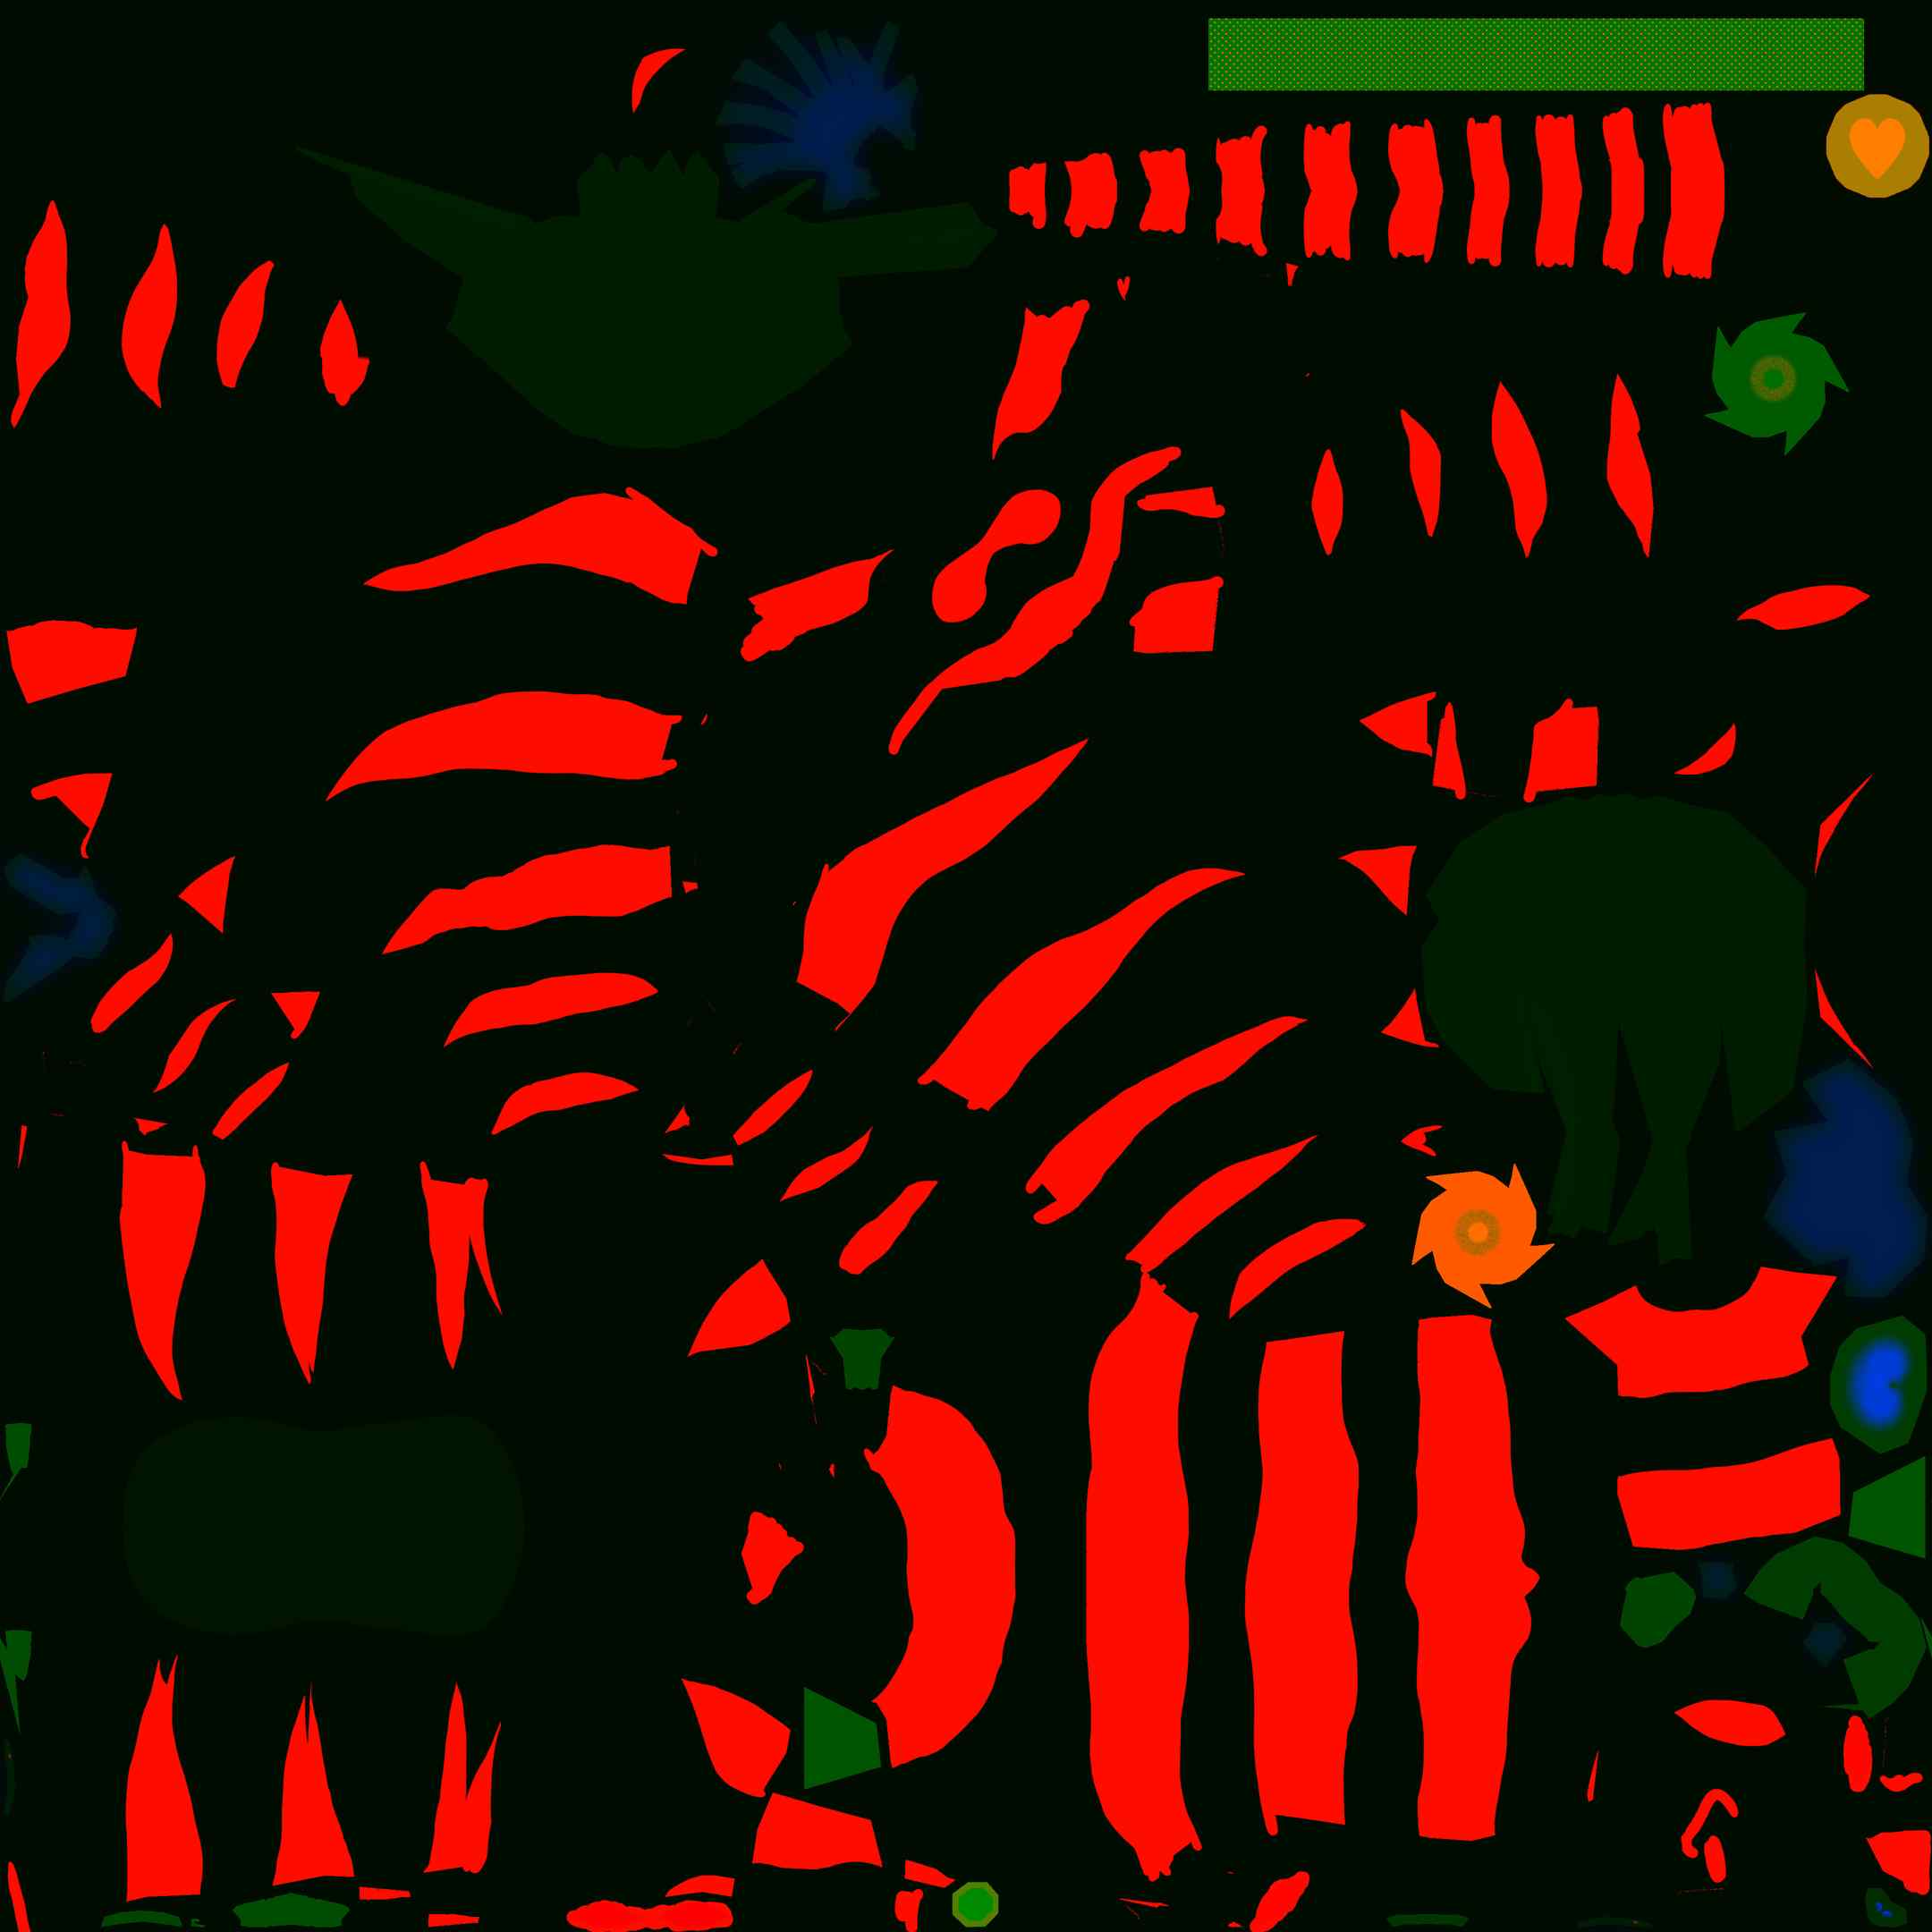
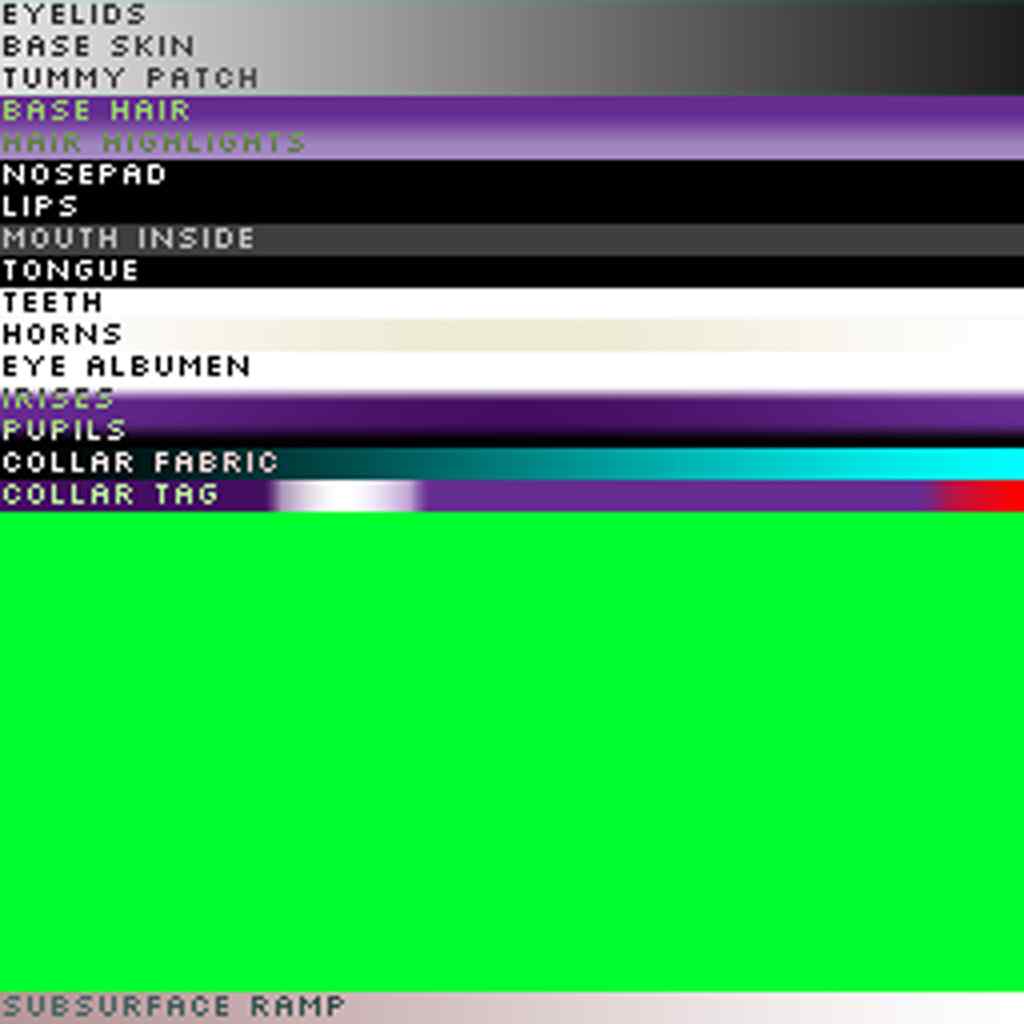
This version of the shader lets me do a lot more stuff, for example giving the different eyes different colors (and different colors for the upper and lower eyelids, even), and also adding textures to the irises. I can also make the front, sides, and back of the necklace tag different colors.
Here’s the pigment map and color map for that setup:
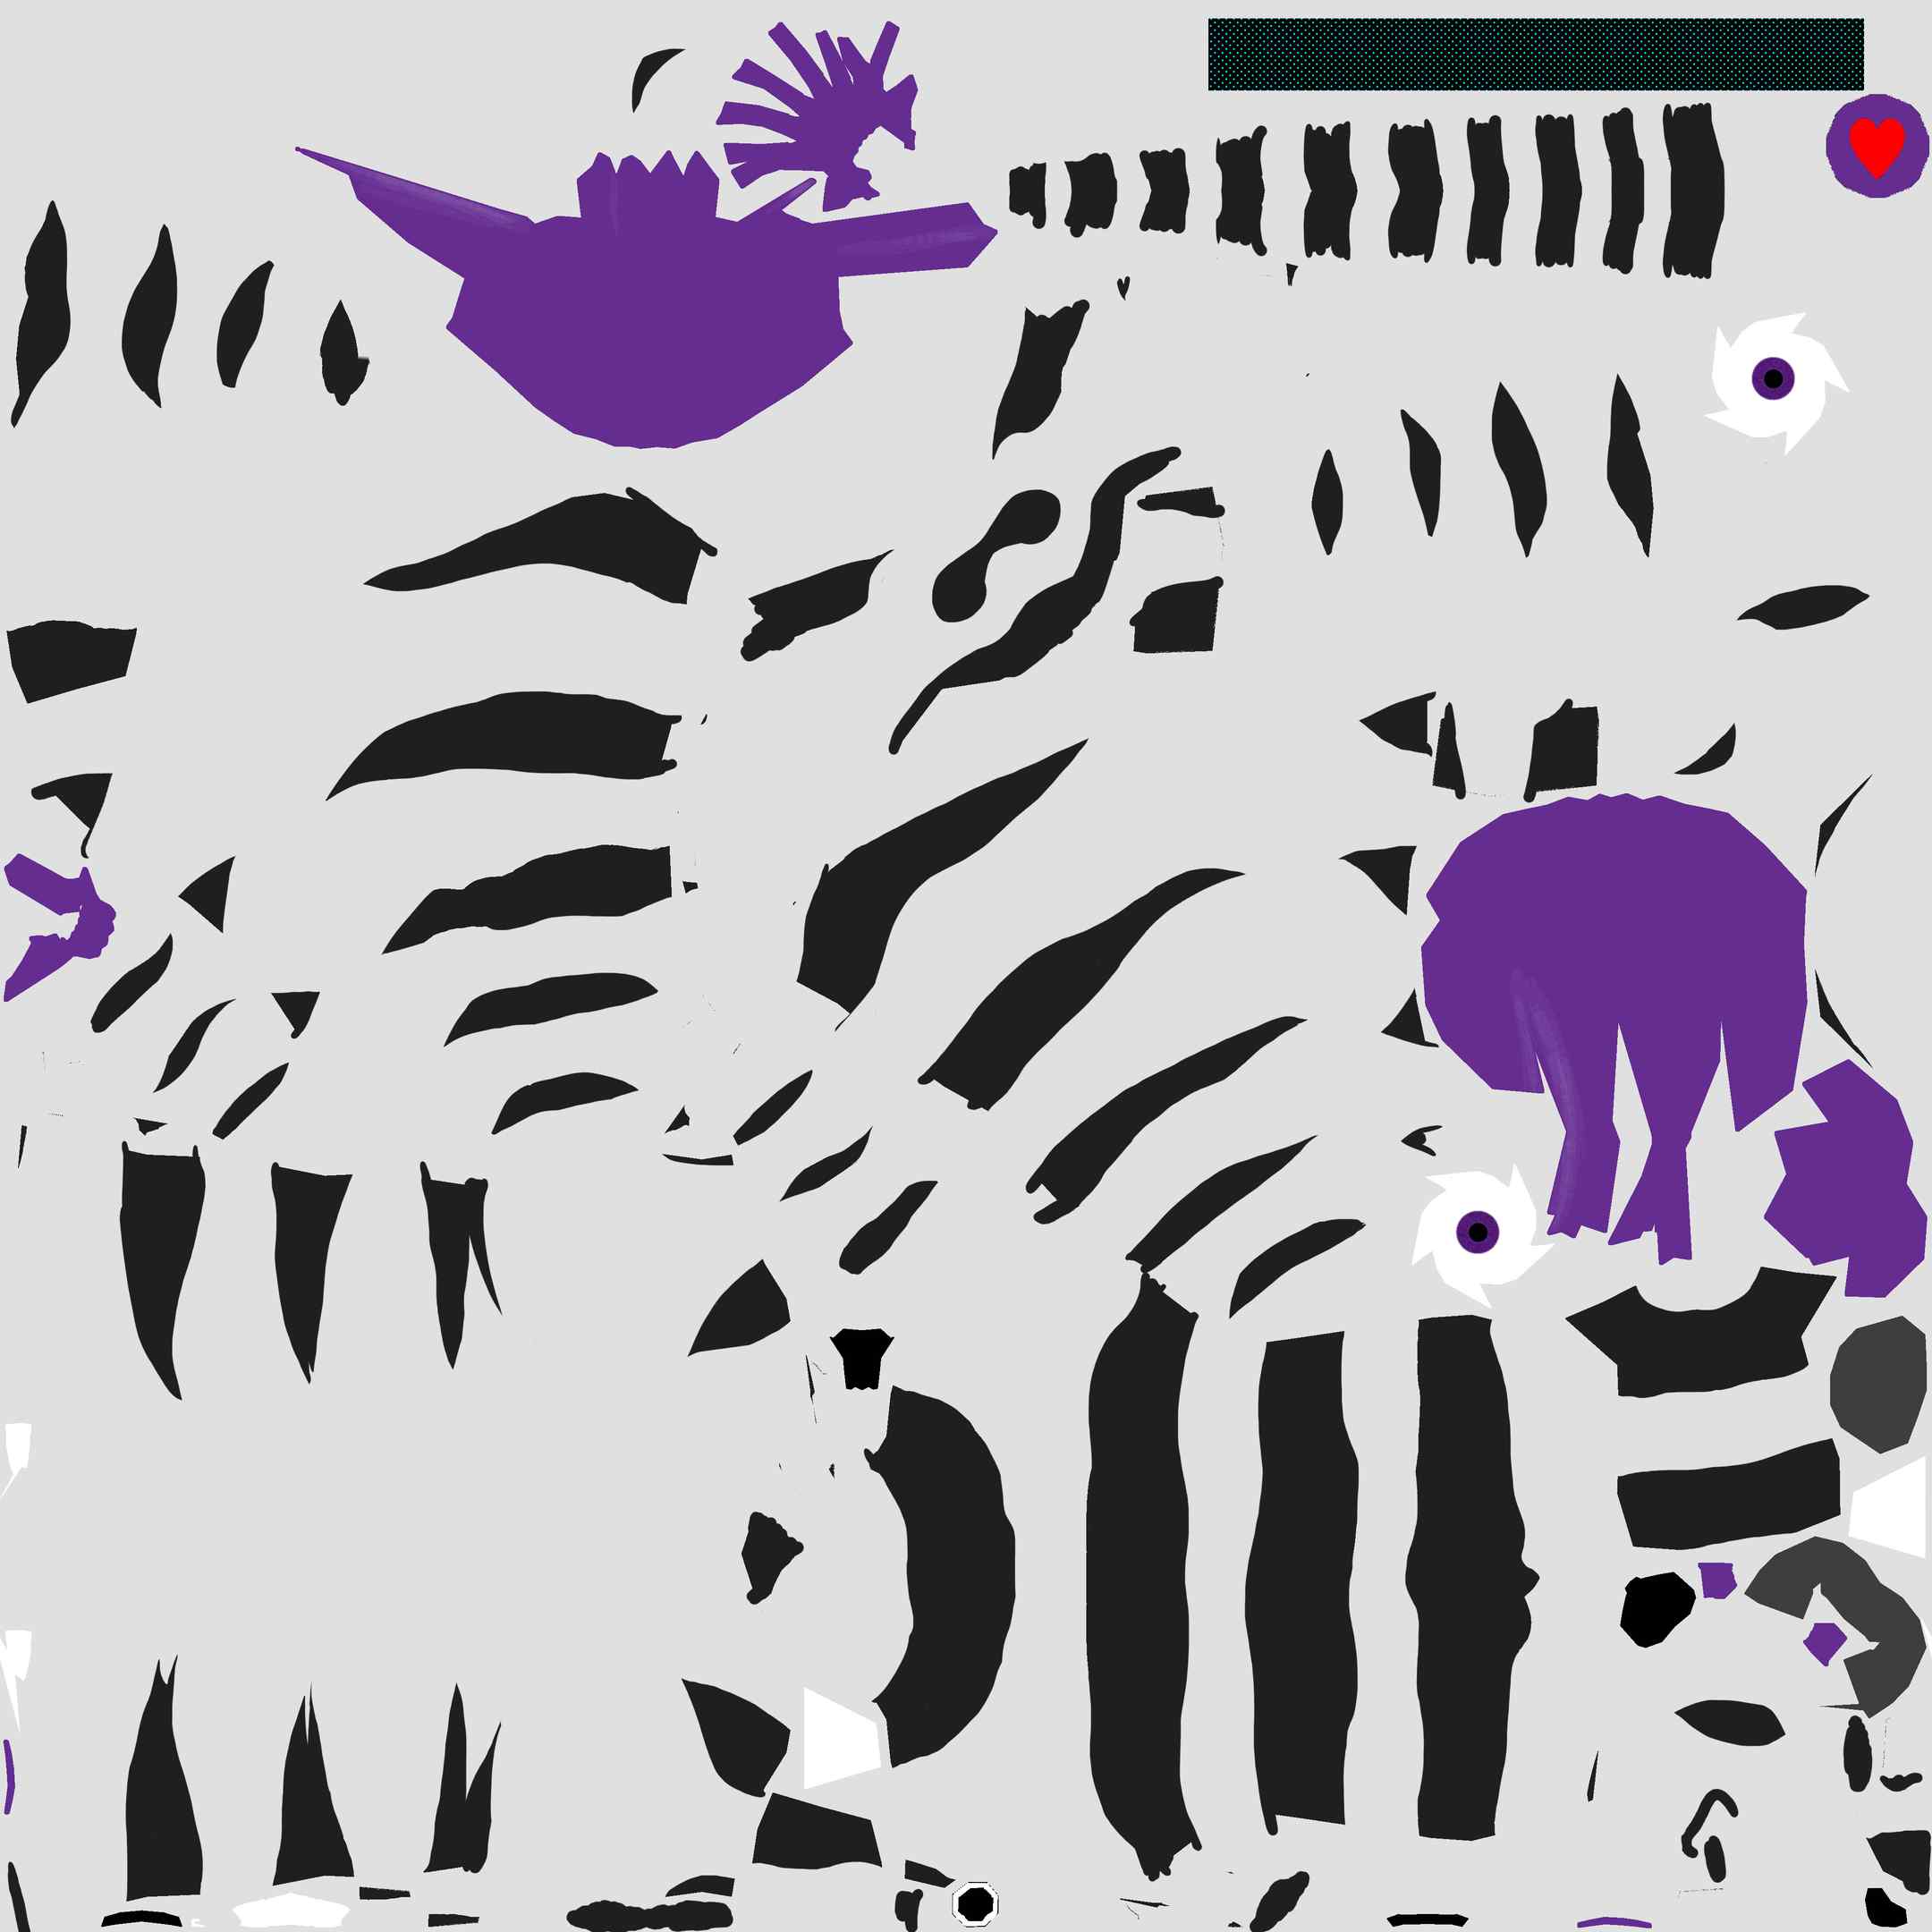
I also wrote a dumb C++ program to bake a pigment map and color map into a fallback texture:
Also, authoring these color schemes is WAY more difficult than just moving sliders around in the Unity editor. I have to be very fussy with a bunch of gradients, especially for the eyes, but the advantages are worthwhile, I think. Just being able to define more color swatches and have more control within them is a huge advantage.
Of course, there’s a pretty big disadvantage in that I wouldn’t be able to use this to author color themes on-the-fly in-game (at least, not without using a multipass shader that renders out the colormap texture on-the-fly), but I’ve kept my previous swatch-mapping shader around and the pigment modulation channel is at least compatible between both shaders, so nothing prevents me from having both shaders be available in-game to switch between.
Oh, anyway, some of the things to keep in mind:
- Pigment maps need to have their color mode set to linear (i.e. disable sRGB) and their format set to RGBA 32 Bit and/or set their compression to “none”
- This approach is very sensitive to color bleed, so there need to be decent gaps between the UV islands and also a lot of bleed from the respective pigment map regions
- Color maps need to have their wrap mode set to “clamp” and should probably have mipmaps disabled
Anyway, yeah, this is working pretty okay! Even if I don’t ever get the critter fully set-up the way I want, I’m really happy with where it is right now.
It’d sure be nice if I could figure out a better workflow for previewing the pigment map on the critter’s actual surface though. Photoshop at least had a way to map a layer to a texture on a 3D object at one time, but heck if I can figure out how to actually do it.