Custom VRChat shader, good and bad
So, today I had a great idea for making a custom shader for my VRChat avatar which would make it much easier for me to generate color schemes for my avatar. I called the technique a “Pigment Map,” for lack of a better term; basically I used the four channels of a texture as fuzzy “bits” in a palette lookup, and set things up cleverly so that I could modulate between a bunch of different colors based on surface pigmentation and indirect lookup thereof. The idea is that I wouldn’t need to bake out a bunch of textures for, say, red-and-black plaid, purple plaid, green plaid, etc., and could just have mappings for high-level colorations like plaid, stripes, splotches, and so on. Y'know, as one does.
So, for example, these colorations are all using the exact same textures, and all that’s different is shader parameters:


Pretty neat, right?
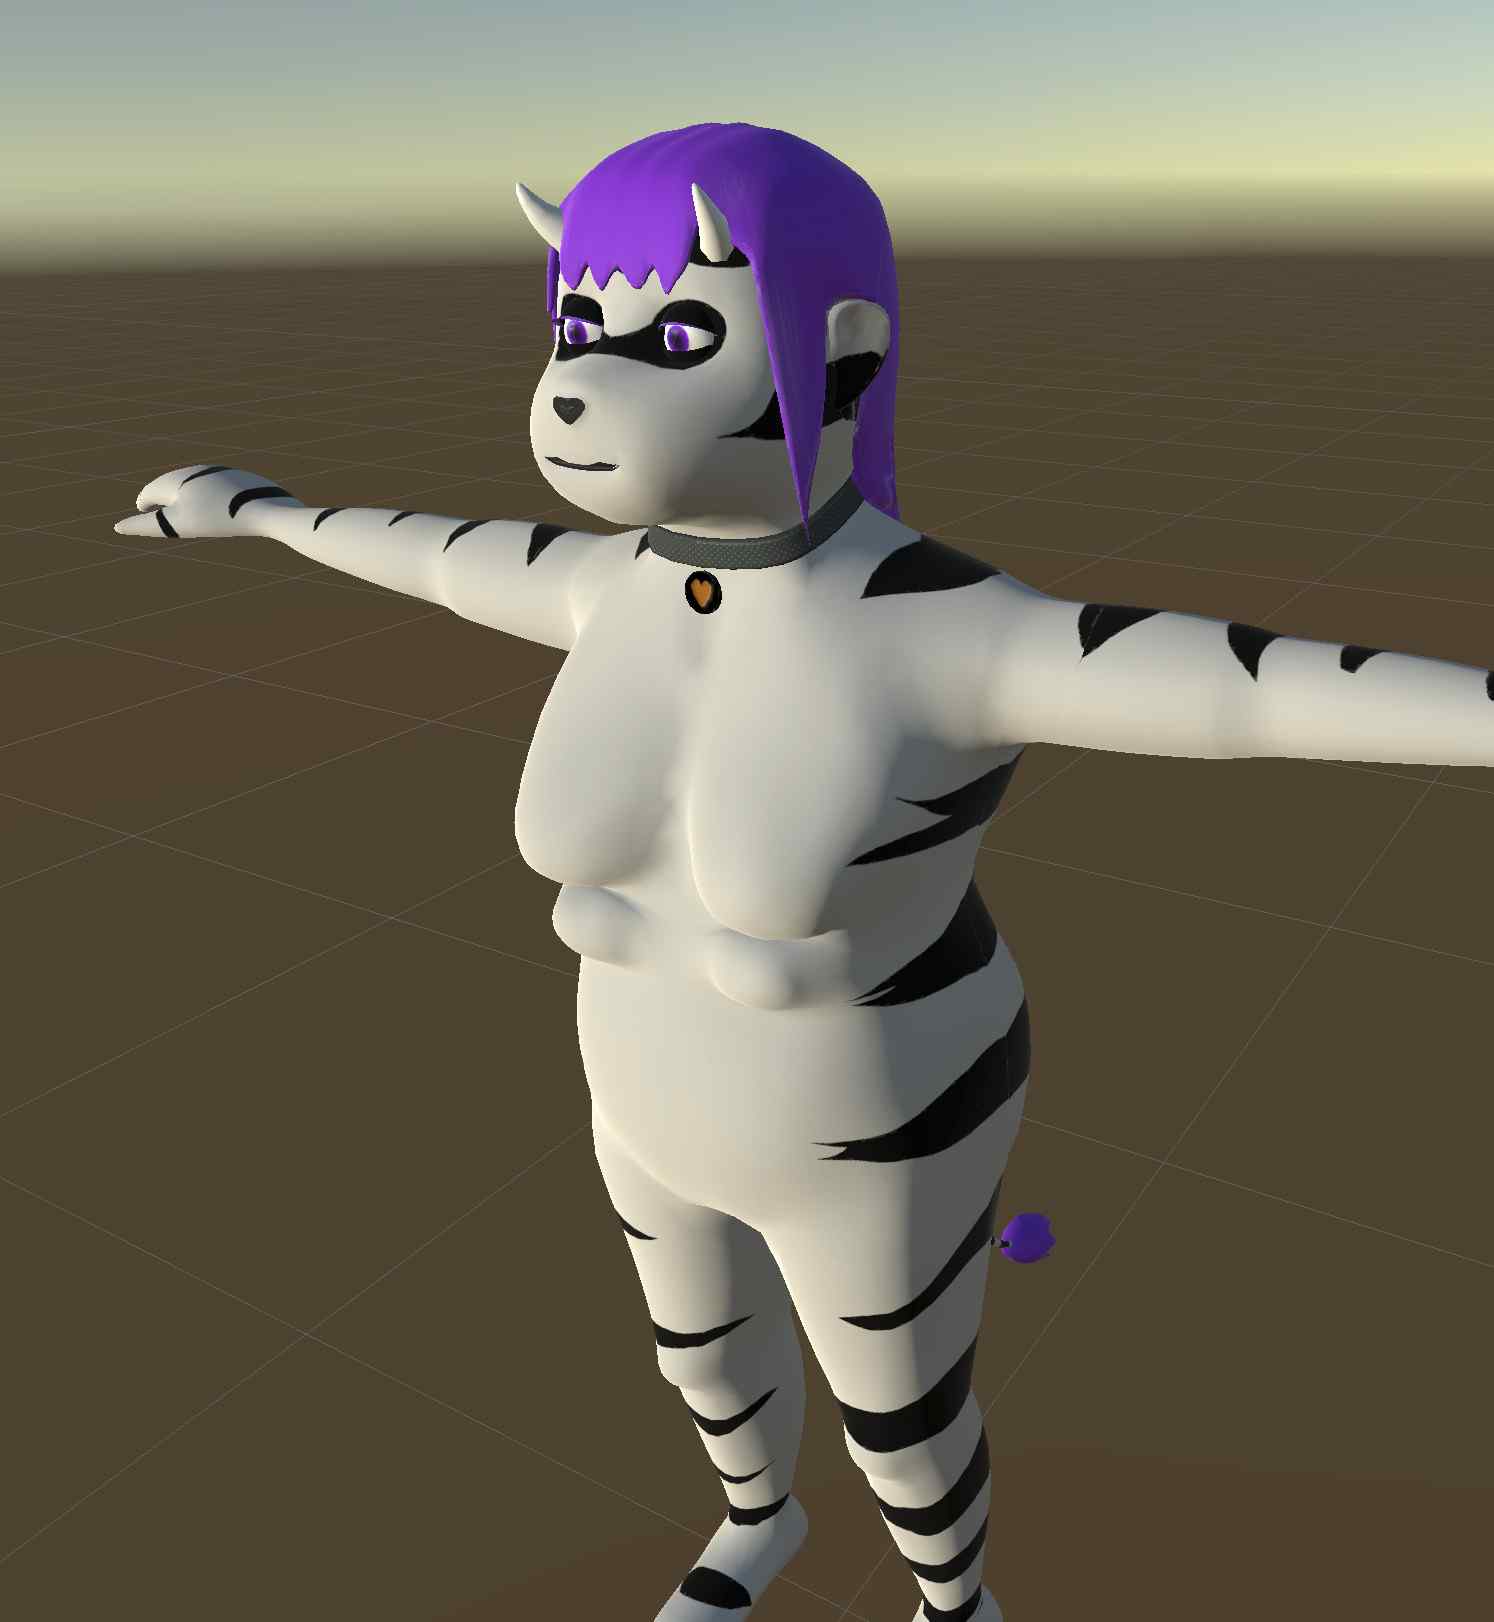
Unfortunately, later this evening I got a reminder that VRChat doesn’t allow custom shaders to run for untrusted users; basically, unless someone is a friend or has “trusted user” status (which takes forever to get), or has opted into untrusted custom shaders, it falls back to the default shader, which means that this avatar would always look like this:

Which is, you know, not ideal.
I mean, it’s not the worst thing, either, but I’d rather look correct and not all weird and neon. Well, unless I’m trying to look weird and neon.
So, I’m thinking that maybe I should just go back to my original plan of baking out a bunch of color schemes and shelving the pigment map shader until I get trusted user status.
Anyway, I do want to write a full article on how this shader works since even outside of VRChat it’d be useful for folks making game assets or the like. The short version is that there’s basically a “tree” of color blend choices (although it doesn’t need to be tree-like, this was just an easy way to conceptualize it); for the purpose of this shader, character, and pigment map, the choices are like this:
- Alpha channel = 0
- Blue channel = 0
- Green channel = 0: Base skin; red modulates base vs. pigment color
- Green channel = 1: Tummy patch; red modulates base vs. pigment color (can match the base skin colors to make the patch go away, set both to the patch color to make it solid, or allow other colors to show through the patch)
- Blue channel = 1
- Green channel = 0: Hair; red modulates base vs. pigment color
- Green channel = 1: Mouth; red modulates base vs. pigment color
- Blue channel = 0
- Alpha channel = 1
- Blue channel = 0
- Green channel = 0: Horns/teeth; red modulates between the two colors
- Green channel = 1: Eyes; red modulates between albumen (1.0), iris (0.5), and pupil (0.0) with an additional parameter to control the iris-pupil gradient
- Blue channel = 1
- Green channel = 0: Collar fabric; red modulates between base color and accent threads
- Green channel = 1: Collar tag; red modulates between background color and engraving color
- Blue channel = 0
And here’s the pigment map and its separated alpha channel for the stripey scheme (note that it doesn’t make use of mouth or tummypatch pigments, but those are definitely features I am intending for some of the other pigment maps):


Technically any of the channels can go between 0 and 1 and this would actually modulate between the color sets; this could be used for any number of interesting effects beyond what I built this for.
With this particular setup I’ve shoved 15-ish exclusive color masks and one fixed-function gradient lookup into a single texture. It’s actually possible to encode a lot more than that, although at a certain point it becomes much more sensible to just store your color palette in a texture and then store UVs for the texture lookup in the pigment mask. This also becomes way more performant after a certain point, at least on desktop GPUs; heck, even for this relatively small number of colors it would probably perform better to do a secondary texture lookup instead of a bunch of lerp()s.
Anyway, all that said, I think having done this work will still be helpful; after all, I can use the pigment maps and the shader to speed up my texture baking process. Previously whenever I’ve done multiple color schemes it’s been the long way around, with drawing a bunch of masks and then plopping around the colors being masked and just doing a lot of annoying things. With this, I can just use Unity to preview the color schemes and then shove the resulting parameters into another program that just bakes the colors out (or, heck, maybe I can figure out how to get Unity to do it directly using the very same existing shader code and a simple editor plugin).
It’s a shame that I’ll need to bake out a bunch of separate albedo maps, which will in turn make the avatar itself a larger download that takes longer and use more resources on the end user, so I mean… it’s not like the shader trust thing is helping others in this case. But whatever. It was still fun to work this out and there’s still value in it for me as an authoring tool.
And maybe someday I’ll get trusted user status and then can make my avatar way more efficient as originally intended.
Or maybe I’ll just be weird and neon to strangers.